Disclosure: This post is brought to you by KitchenAid and NPR. All opinions expressed in this post are entirely my own, as always.

Do you fancy a counter-top full of your dream appliances like me? How amazing would that be, if you could own each and every one of them and come up with all kinds of fancy patisserie/restaurant quality food from comfort of your home. But the important question is, do you have the space for them? Do you have the bandwidth to fit in 8-10 appliances in your kitchen and into your busy schedule?
What if I told you that you could perform culinary magic with just ONE appliance, the KitchenAid Artisan Mixer! This iconic mixer, known for its versatility, reliability and power when it comes to baking can actually transform itself into a pasta maker, spiralizer, food grinder, vegetable slicer, ice cream machine, sifter and scale and a lot more. The tilt-head designs allows easy access to the bowls and the attachments hub can open doors to things you never thought were possible.
Trust me when I say this, the KitchenAid Stand Mixer is a life changing investment. If you want to find out more about the different options the National Product Review (NPR) website is your best bet.
Today, I am going to share a little bit about 3 of favourite attachments that has done wonders for my baking. The KitchenAid Spiralizer attachment, the Sifter and Scale attachment and the Ice Cream Bowl attachment. The proof is of course in the pudding, so I created this Gingerbread Cake (recipe below) that made me realise what I have been missing out on until now.


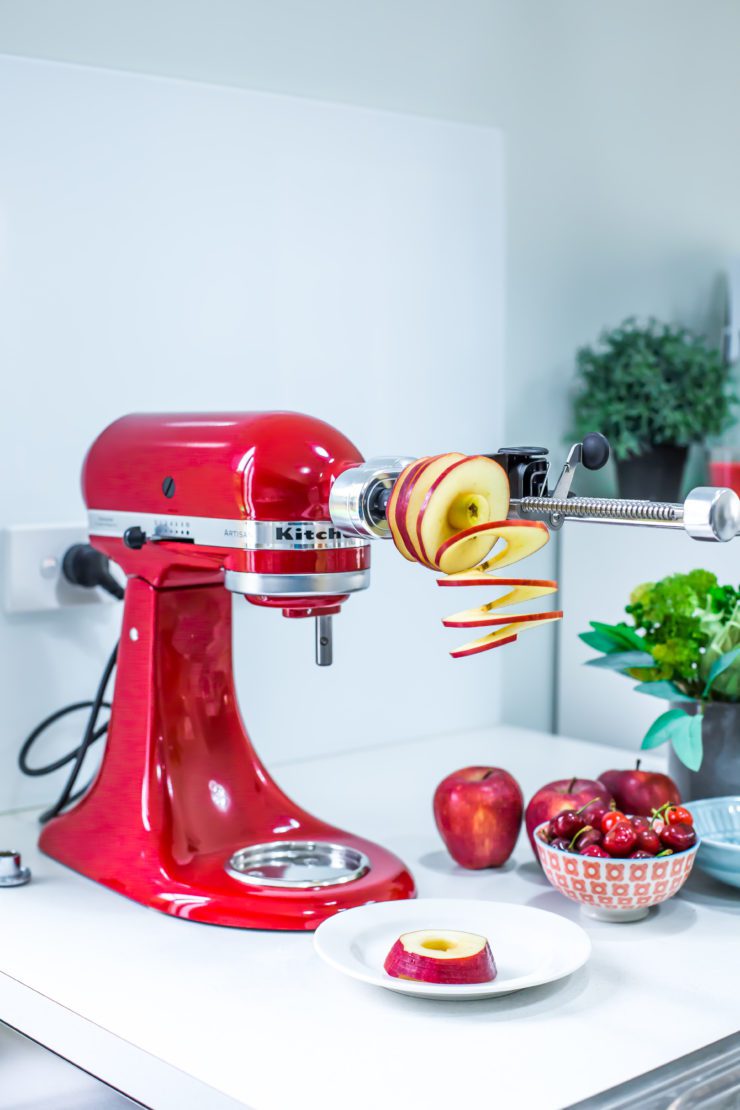
The KitchenAid Spiralizer attachment
What is not to love about a device that attaches to your stand mixer, peels, cores, slices and spiralizes fruits and vegetables in one easy and quick motion? It is not only a huge time and space saver, but is immensely versatile and easy to clean.
The KitchenAid Spiralizer includes an extra fine slicing blade, a fine spiralising blade and a medium spiralising blade for all your dream spirals. Along with it also comes the slicing blades. Thin slicing (small core), slicing and slicing (large core) and the peeling blade. Basically, all your slicing and spiralizing needs in one place.
Making those Instagram-worthy veggie noodles, thinly sliced fruit for your next show-stopper tart or a textured salad is a breeze with this attachment. Moreover, all these blades are dishwasher friendly.
I have been wanting to make apple chips at home since ages. They make such a lovely edible decoration but store bought ones are expensive. The KitchenAid large core slicing blade is not only perfect for this kind of slicing but the uniform size of each slice makes sure they bake evenly and to the same texture. Wow!
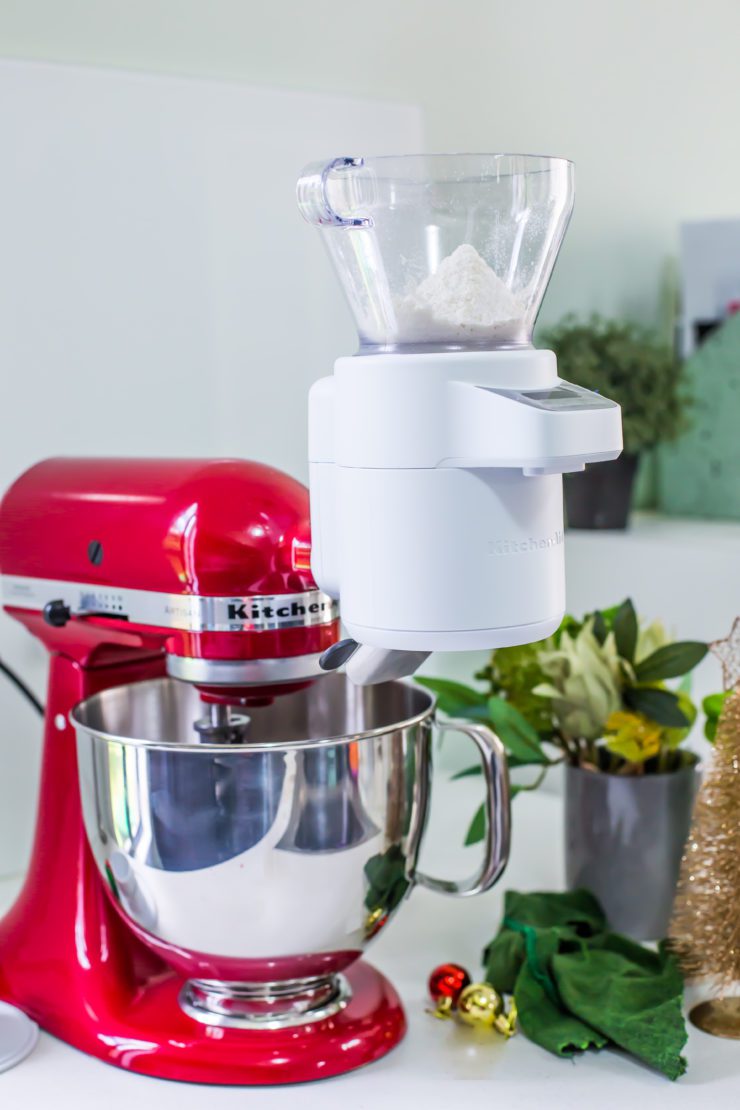
The KitchenAid Sifter and Scale attachment
Oh my goodness, this is every baker’s dream realised. Whether you are an avid baker like me or you like to experiment in the kitchen occasionally, one thing remains unchanged. No one likes to make mistakes as it comes at the cost of ingredients, time, effort as well as expectations. Sometimes the most tempting one-bowl recipe may actually not turn out to be so much fun as you realise weighing out each and every ingredient plus sifting the dry ones does involve more than one piece of equipment. Well, some people leave out that step but then the final product will always lack the fluffiness or texture of a bakery style product. Baking after all is about precision. The solution?
Weigh and sift like there’s no tomorrow (Haha…that was me when I discovered this phenomenal device) with the KitchenAid Sifter and Scale, the all in one tool that accurately measures, thoroughly sifts and automatically adds dry ingredients to your mixer bowl in just one step. It reduces your prep-time and a whole lot of clean up. And hey, how does hands free sifting sound to you? Yes, it’s possible!
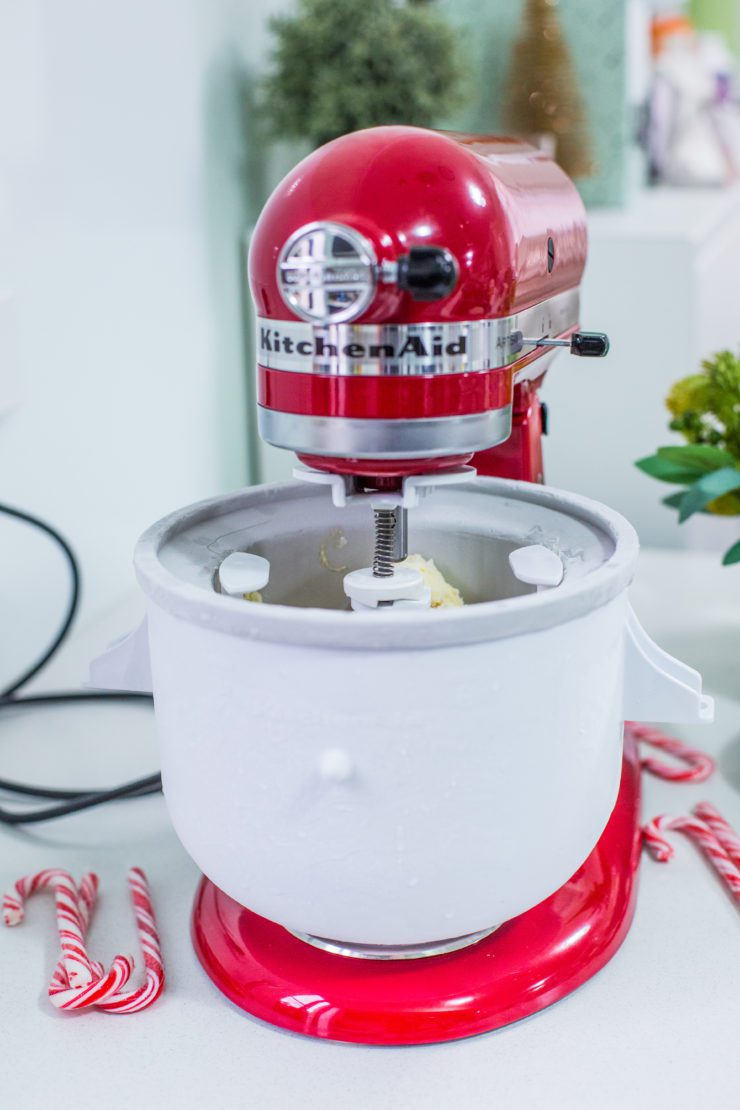
The KitchenAid Ice Cream Bowl attachment
This three-part accessory can actually turn your iconic baking and beating machine into an at-home gelataria. All you do is prepare the base (they are heaps of recipes available) and pour it into your Ice Cream Bowl that will magically churn it into a creamy soft serve. If you can resist temptation, freeze the soft-serve in an air tight container for a firmer, gelato kind of consistency.
The possibilities to experiment are endless, whether it is flavour or toppings (being an open bowl, it allows you to add fruit, nut, candies, sauces with ease in the end).


Gingerbread Cake with Vanilla Buttercream and Caramel Candy Cane Ice cream
Makes a 6 inch, 3 layered round cake
Gingerbread Cake
175 g unsalted butter
1 cup golden syrup
2 eggs
220 g (1 cup) dark brown sugar
200 g light sour cream
375 g (2 .5 cups) plain flour
4.8 g (1 tsp) baking soda
13.6 g ground ginger
0.57 g ground mixed spice
Vanilla Buttercream
250 g unsalted butter, room temperature
500 g icing sugar
1 tbsp milk
1 tsp pure vanilla extract
Baked Apple chips
2 apples (I used red delicious)
2 tbsp castor sugar
1 tsp powdered cinnamon
To make the cake : Preheat oven to 160 degrees C (140 degrees C for fan forced ovens). Lightly grease the base and sides of 3, 6 inch round cake pans and line the bases with baking paper.
Place butter, golden syrup and eggs in the bowl of your KitchenAid stand mixer fitted with the flat beater. On low speed, beat until well combined (approx. 1 minute). Attach the KitchenAid sifter + Scale attachment to your mixer. Place the lid on top. Weigh the brown sugar and add it to the mixing bowl. Beat until combined (approx. 30 seconds).Turn the mixer off. Add sour cream to the bowl.
Weigh the flour, baking soda and spices in the same way, tare-ing the scale between ingredients. With the mixer on low speed, open the ingredients valve and sift in the flour mixture. Be careful not to over-mix the batter.
Divide the batter uniformly between the 3 prepared cake pans. You can do so by using the scale attachment that can be used as a stand-alone weighing scale. Bake in the oven for 40 minutes or until a skewer inserted in the middle of each cake layer comes out clean. Remove from oven and leave aside for 5 mins to allow the edges to pull away slightly from the cake pans. Run a blunt knife around the edges and turn the layers onto a wire rack to cool completely.
To make the vanilla buttercream: Place the butter, sugar, milk and vanilla in the bowl of your KitchenAid stand mixer bowl fitted with the flat beater. Start with a low speed and beat until mixture is well combined. Increase the speed to high and continue to beat until mixture is light and fluffy.
To make the apple chips: Preheat oven to 120 degrees C. Line a large baking tray with baking paper.
Mix the sugar and cinnamon together in a small bowl.
Using the spiralizer attachment of your KitchenAid stand mixer and the large core slicing blade, spiralizer your apples.
Separate the apples into single circles using a knife. Place them in a single layer in the prepared baking tray. Sprinkle the cinnamon-sugar mixture over the apples.
Bake for an hour, then turn them on the other side and bake again for another hour. The apples will harden up and shrink in size.
Switch off the oven and let the apple chips crisp up inside. Once crisp, remove from oven and store in an air-tight container until needed. This will easily last up to a week.
To assemble: Spread a tiny amount of buttercream on a cake plate or stand (this will ensure the layers don’t move while frosting the cake). Place the first layer, then spread about ½ cup of buttercream. Repeat with 2nd and 3rd layer. Spread buttercream on the sides and top, smoothen it out to resemble a naked cake. Pipe decorations with buttercream (optional). Drizzle with caramel sauce. Decorate with apple chips and meringues (optional) and candy cane sticks (optional).
Caramel Candy Cane Ice Cream
¾ cup (185 g) plus 2 tablespoon castor sugar
1 cup heavy cream
4 egg yolks
1 & ½ cups full cream milk
2 tsp vanilla extract
4-5 candy cane sticks
Freeze the KitchenAid ice cream bowl for at least 15 hours before churning ice cream. To make the ice cream, first prepare the base/custard. In a heavy saucepan, over medium heat combine the ¾ cups sugar and 2 tablespoons of water. Cook stirring constantly until sugar dissolves. Stop stirring and continue to cook until syrup turns amber in colour (approx. 5-6 minutes). Remove from heat. Pour the cream into the sugar mixture taking care as the mixture will splatter. Put back on low heat and cook until mixture is smooth and there are no lumps. Remove from heat and leave aside
In a medium bowl, whisk the eggs and 2 tablespoons sugar. Add in the milk and whisk to combine. Pour the egg mixture into the caramel mixture and cook over low heat, stirring constantly until the mixture thickens up enough to coat the back of a spoon (do not boil). Remove from heat, add the vanilla and strain through a fine mesh sieve into a clean bowl. Allow to come to room temperature, then chill in the refrigerator.
Pour the custard into the KitchenAid ice cream bowl attachment that has been fitted with a dasher. Turn mixer to speed 1 and churn for approximately 20 minutes (the mixture will resemble a soft serve) or till it reaches the desired consistency. Immediately pour ice cream into an air tight container or ice cream tray. Sprinkle with crushed candy canes or you could place them on top as seen in the picture. The candy cane sticks melt into the ice cream and form a ripple effect when ready to serve. Freeze for at least 5 hours or until frozen.